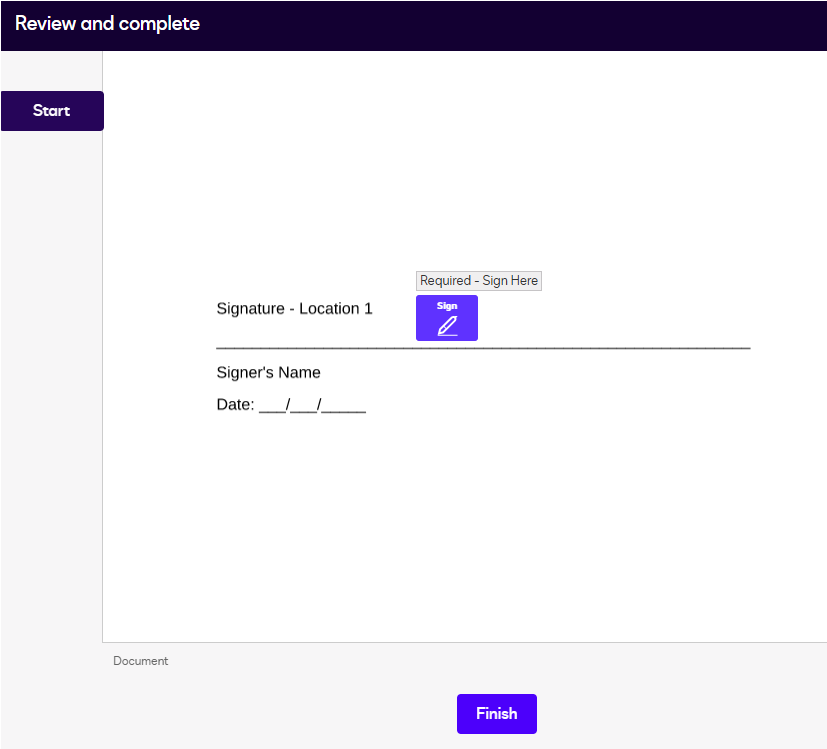
DocuSign and Configurator Flow
DocuSign: Integration Flow with Configurator
This document describes the DocuSign integration flow with the Configurator, detailing all the necessary steps to correctly configure, map, and execute a signature process with pre-defined action locations.
🎯 Objective
The purpose of this integration is to allow a user defined as a configurator to be responsible for establishing, prior to sending to the final participants, where each signer, witness, or party involved should:
- Sign;
- Initial;
- Apply other actions in the document.
1. Initial Field Configuration
To start the configuration, access the desired category and navigate to the fields screen. Then, locate the repeater type field, which is responsible for the integration actions.
In the interface, signature actions are defined as "Action" (name chosen by the configurator). When clicking this field, a custom list will be displayed:
- Click Add.
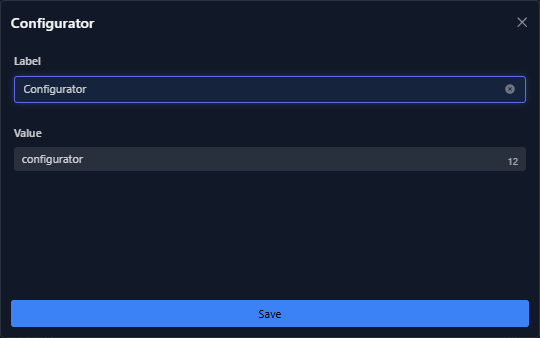
- Create a label of your choice (e.g., configure, configurator, etc.).
- In the value field, enter exactly
configurator, respecting the spelling.
⚠️ The value must be exactly
configurator. Any spelling variation may cause failures in the integration flow.
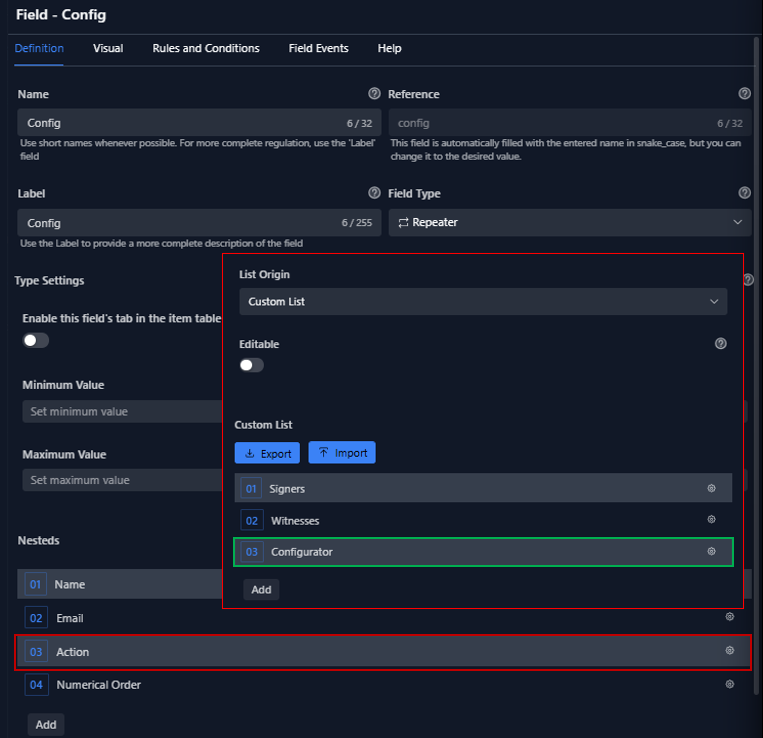
Note: In this example, the fields are already configured. If you have questions about other fields, please refer to the official documentation.
2. Integration Mapping Configuration
After creating or updating the structure, access the task settings. Within the "Use integration" action, the required mapping must be defined.
This mapping determines the actions of each participant in the signing process. In this flow, the configurator action has been added to allow prior control over the document.
This configuration is essential so that the configurator can define:
- Signature locations;
- Initials;
- Stamps;
- Other available DocuSign actions.

When adding signers, witnesses, and other participants, the configurator must be defined to ensure prior control over action locations.
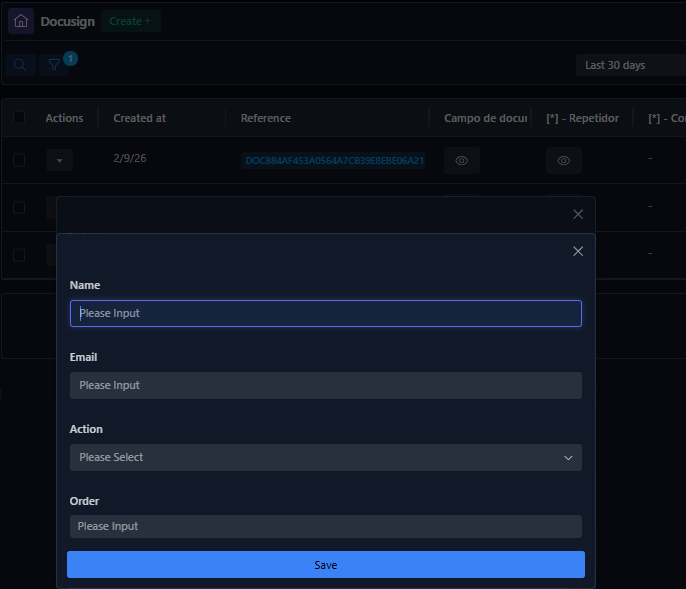
3. Item Creation and Configurator Definition
Once the mapping is complete, when creating an item, simply assign the configurator action to one of the users.
It is recommended to assign this action to the first user in the list to keep the flow organized and ensure that the location definitions happen before other interactions.

4. Sending the Flow for Configuration
With all fields defined and the item created, the sending process follows these guidelines:
- Automation: If the task stages are configured for automatic creation, simply access the tasks and view the delivery result.
- Manual Sending: Otherwise, it will be necessary to manually send the task for processing.
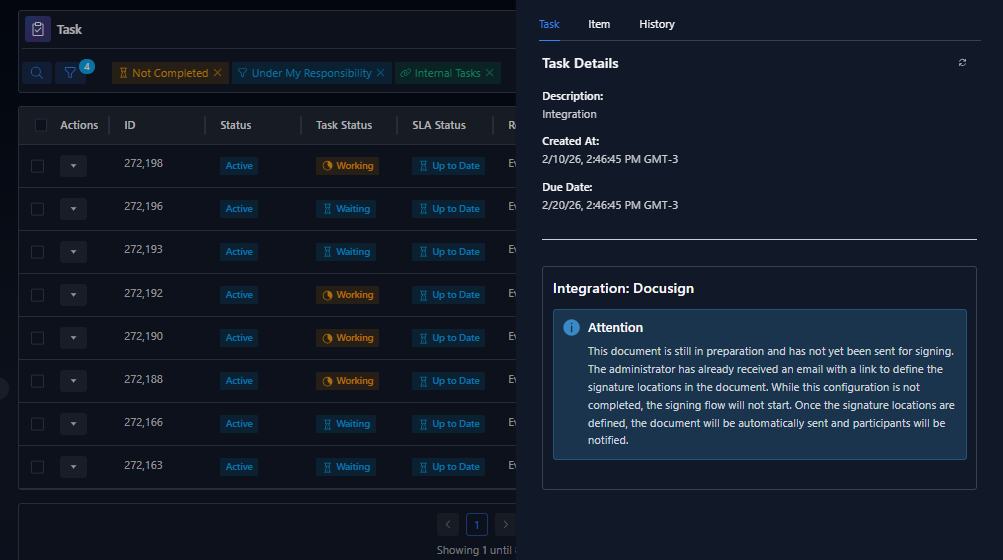
- Notifications: At this stage, no final participants will receive an email; only the configurator will be notified.
- Configurator Action: The configurator will receive an email containing a unique link to define the signature locations in the document.
5. DocuSign Configuration Screen
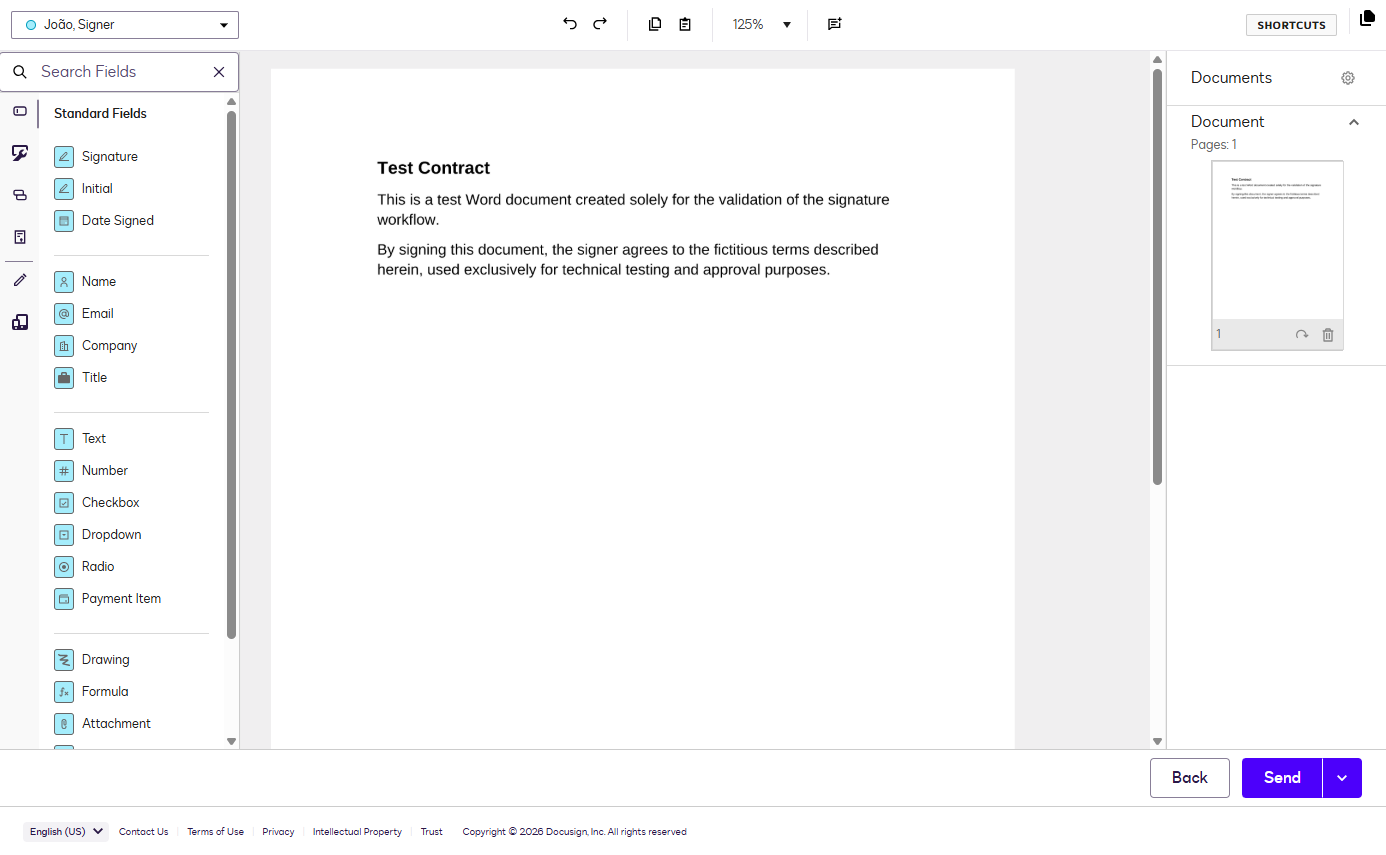
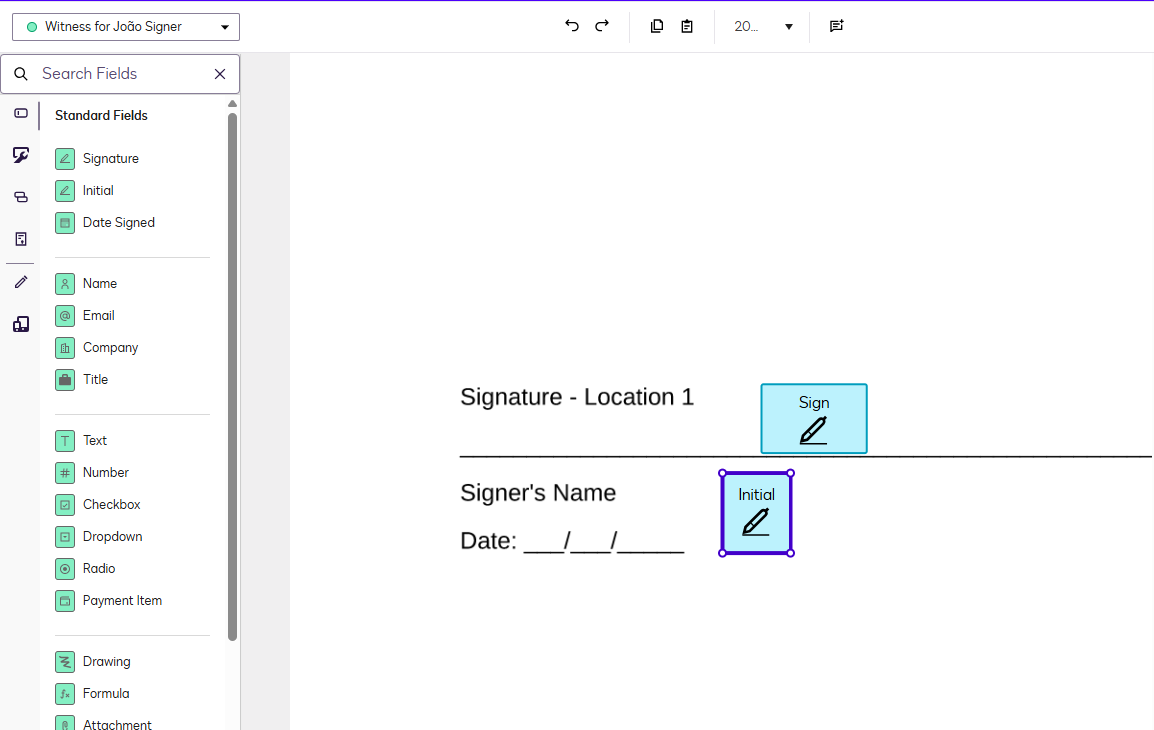
Upon clicking the link, the configurator will be redirected to the DocuSign editing interface. Various features are available on this screen — the use of each will depend on the specific needs of the process.
In this example, we will focus only on defining the action locations for each participant.
5.1 Defining Action Locations by Participant
In this step, actions are specifically assigned to each person involved in the document:
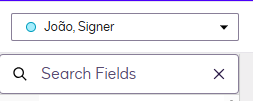
- Signer: First, a signature location was defined for the participant “Gerson Assinante”.
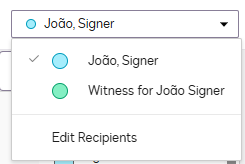
- Witness: Next, the witness action related to the participant “Gerson Assinante” was defined.
5.2 Execution on the Annotations Screen
On the annotations screen, the configuration process is simple and intuitive:
- Select the user: Choose the participant from the recipient list.
- Define the desired action: Select the field type (signature, initials, etc.).
- Drag the element: Place the element in the exact location on the document where the action should be performed.
6. Completion and Sending
After completing all signature location settings, follow these steps to finish the process:
- Send Document: Click the “Send” button, located in the lower right corner.
- Confirmation: You will be redirected to a confirmation screen indicating if the sending was successful.
- Post-Sending: You can choose to return to the workspace or simply close the browser tab.
- Status Update: When returning to the task (which previously showed it was in the configuration stage), simply refresh the page to view the updated process status.
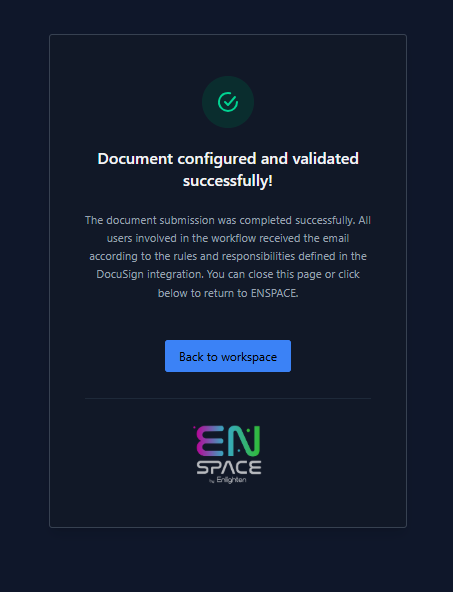
6.1 Successful Sending Confirmation
This screen confirms that the configuration has been successfully completed. It ensures that all participants have received the email containing the signature locations previously defined by the configurator.
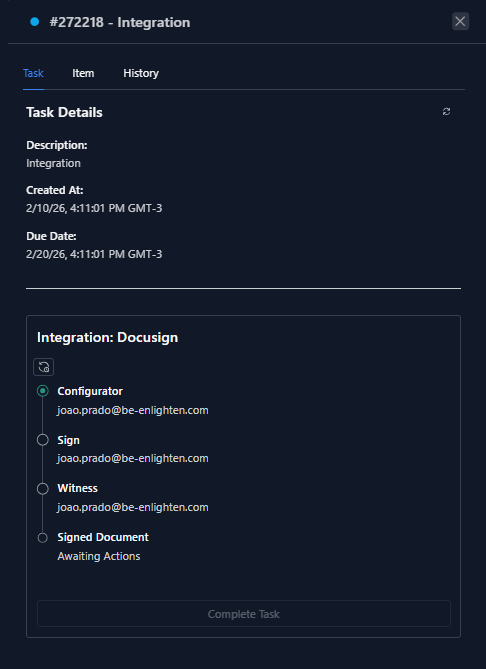
6.2 Email Received by the Participant
Below is an example of the email received by “Gerson Assinante”. This email is automatically triggered after the configurator finishes defining the action locations and clicks send.